Development Migrating from Pelican to Hugo I recently migrated my blog from Pelican to Hugo. In this article I will explain why I decided to do it and how I did it.
Development How to show a cover image in Pelican based blog posts How to add a cover image to Pelican based blog posts, so that when the article is shared on social media the image is shown in the preview.
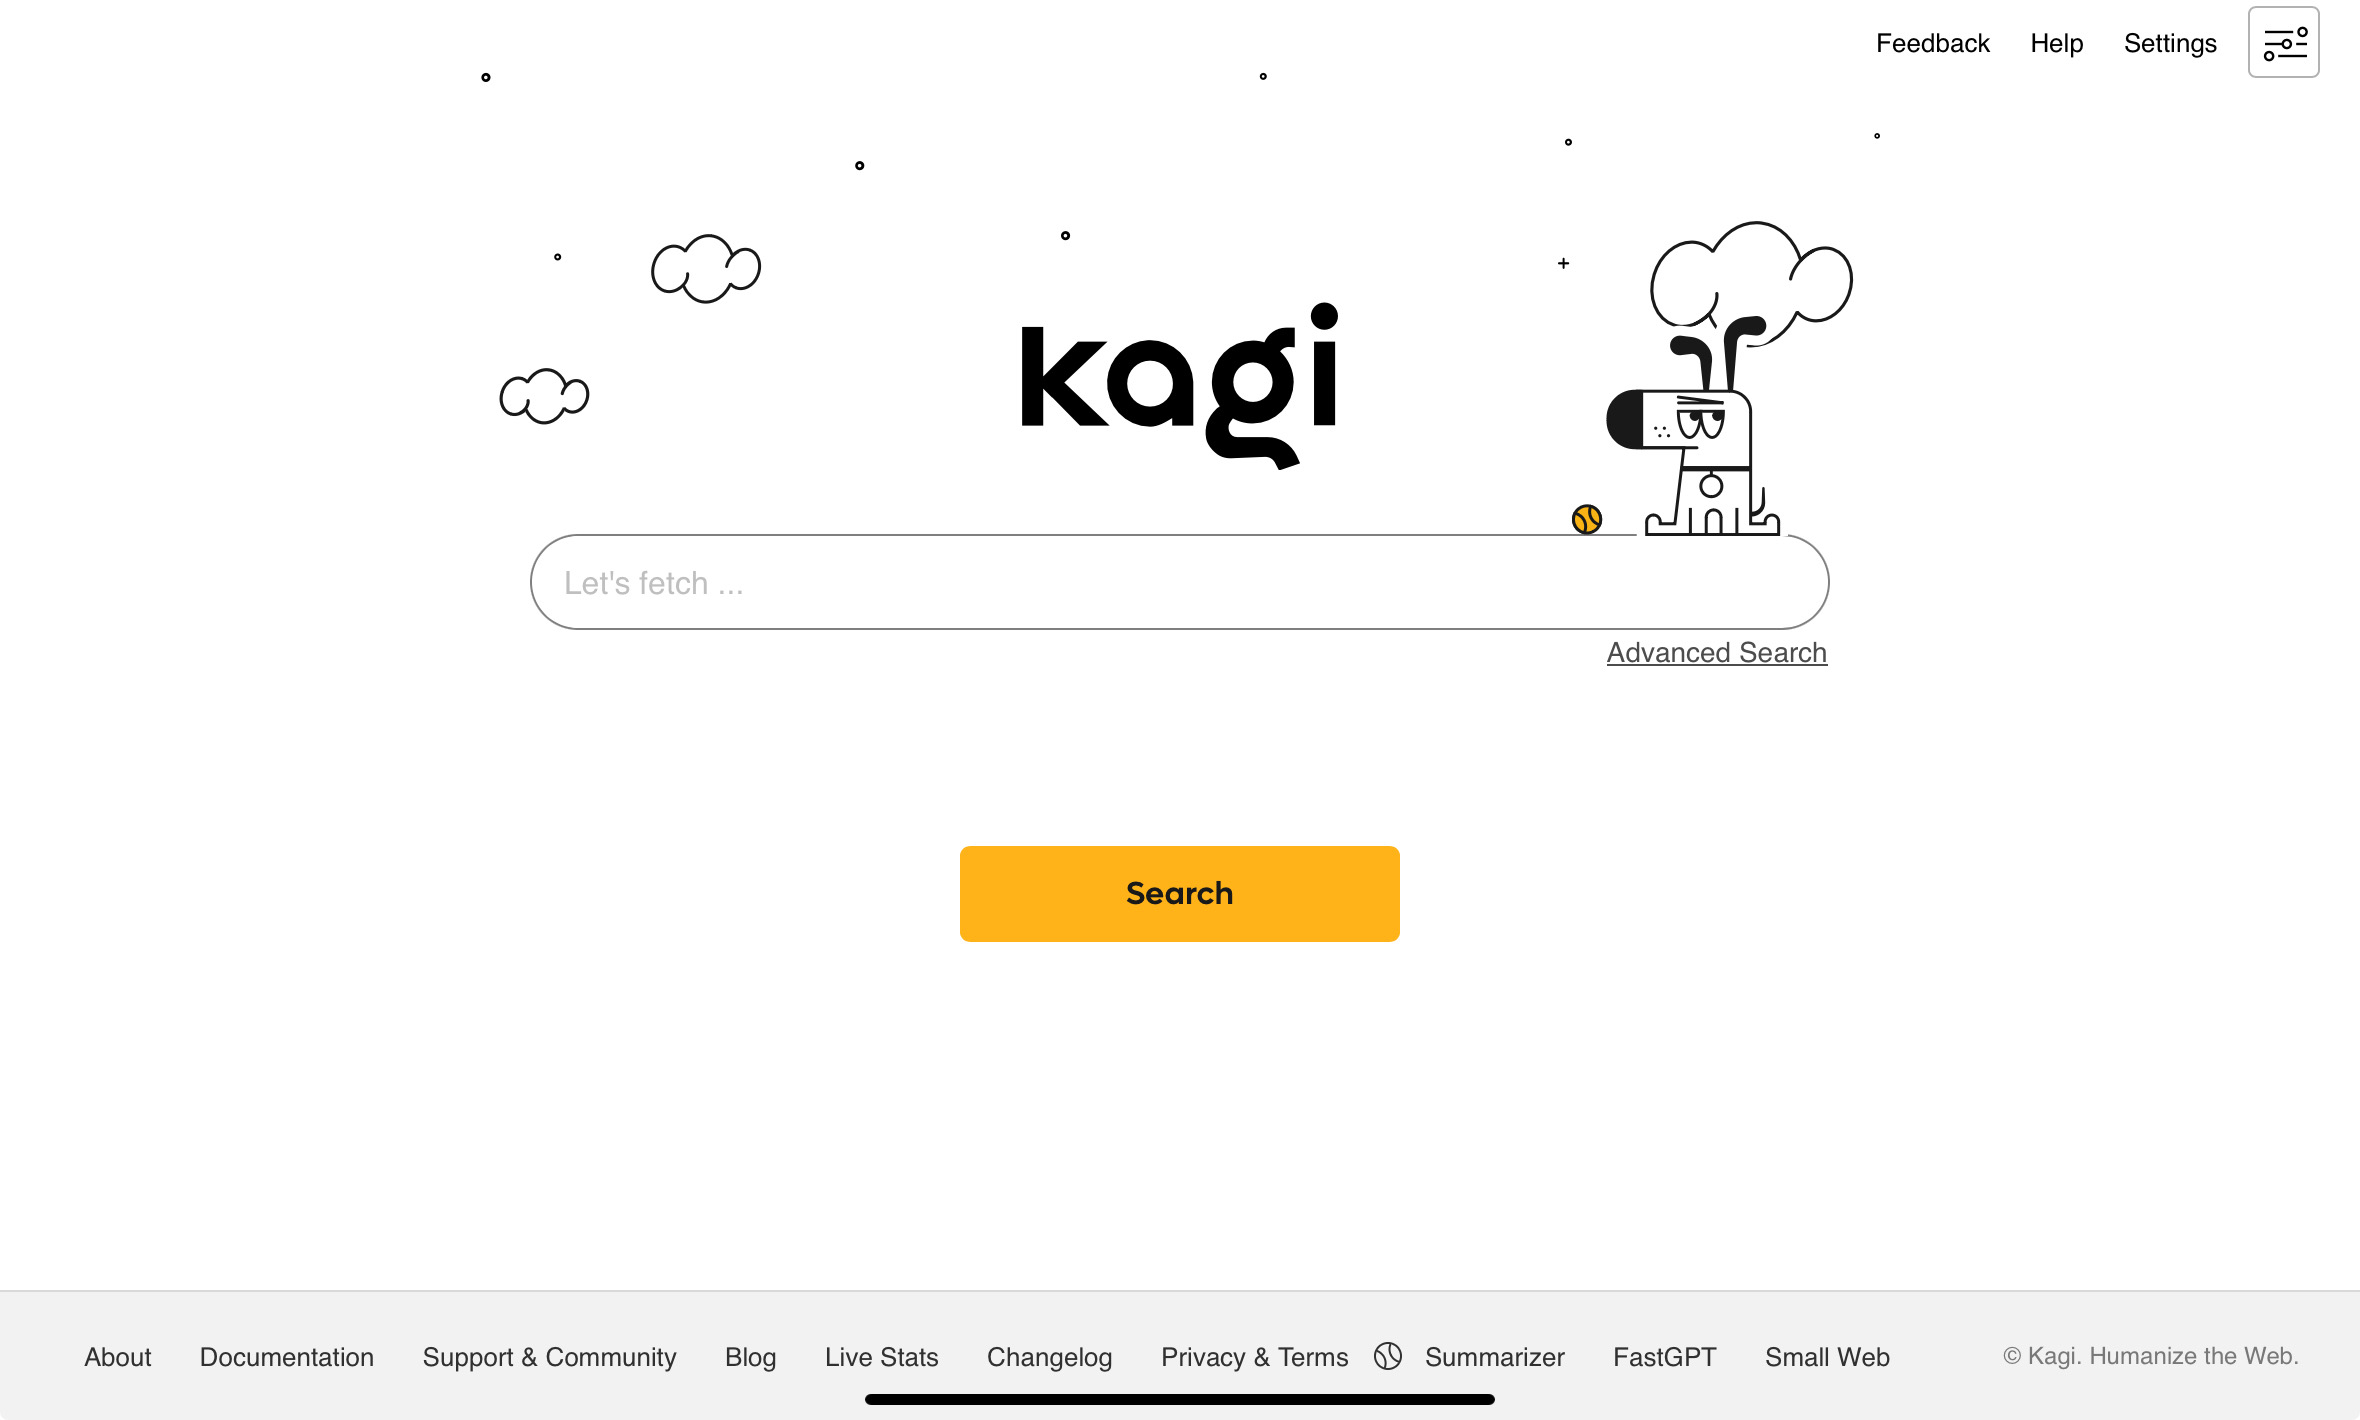
Technology Kagi: a paid search engine which is worth the money Kagi is a paid search engine which gives you search results you are actually looking for. It doesn’t track you and doesn’t have any ads.
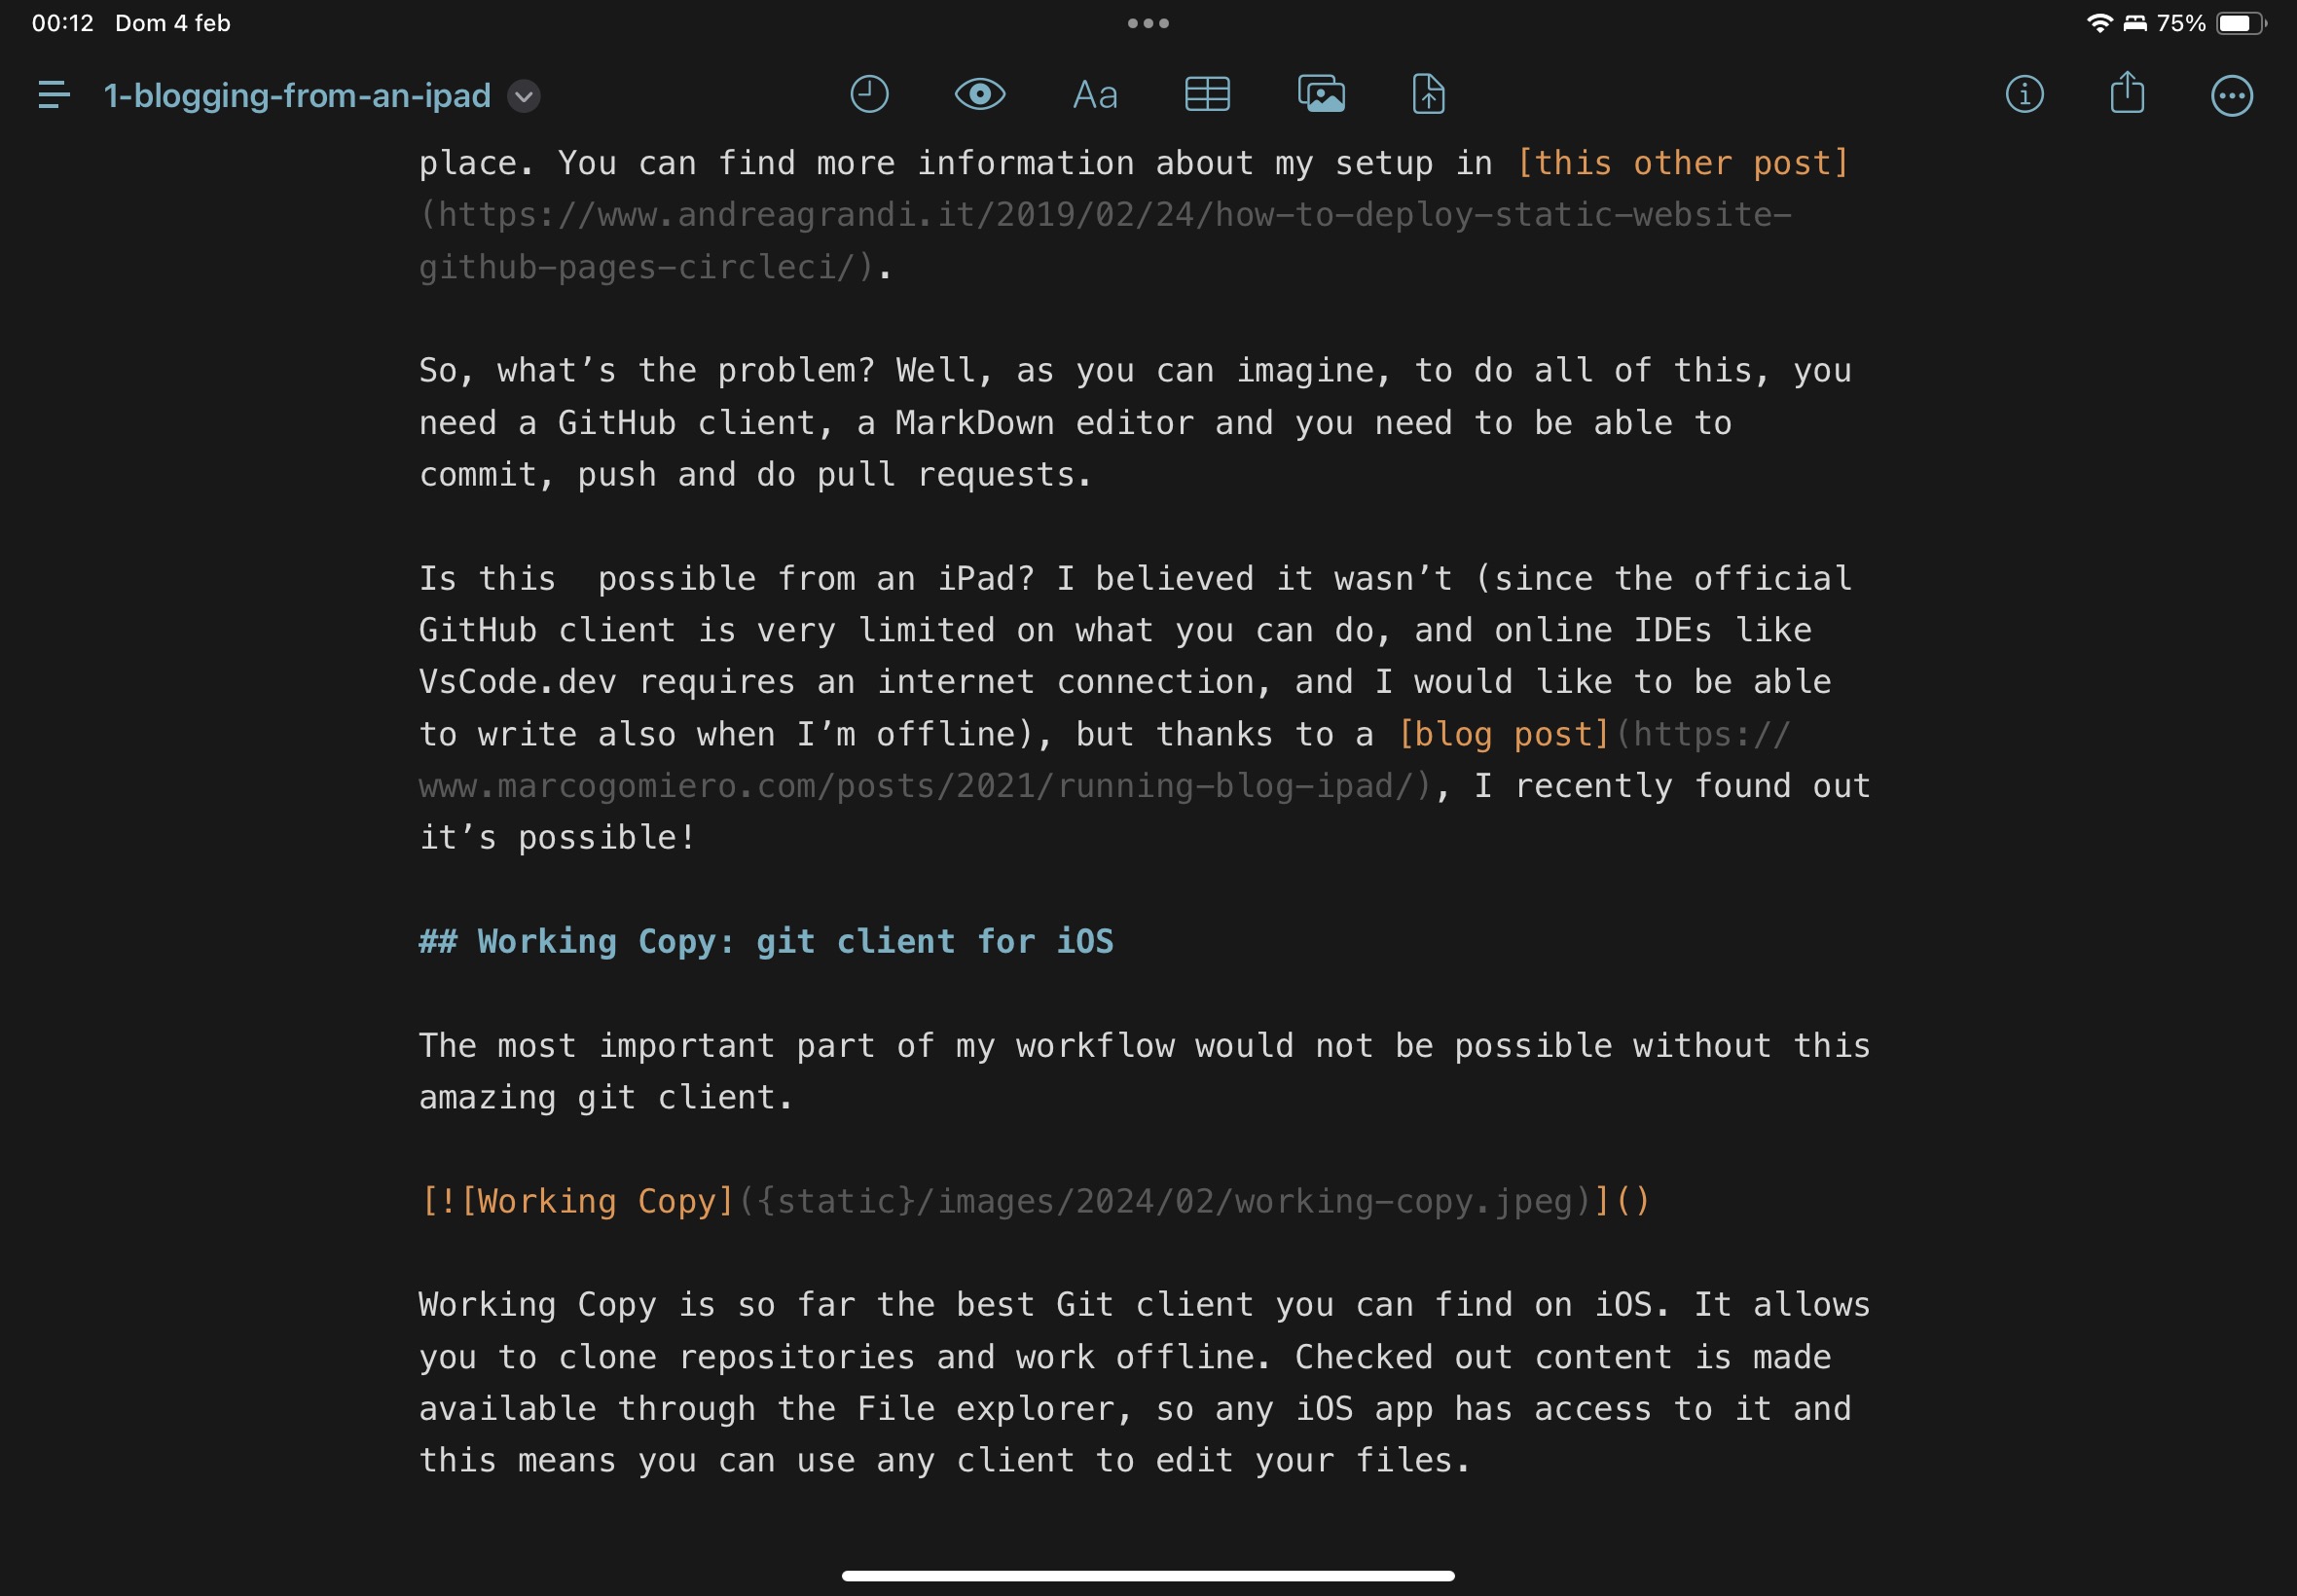
Writing Blogging from an iPad In this post I share my findings and my current setup which allows me to write and publish blog posts from my iPad, for my static generated blog, powered by Pelican and GitHub Pages.
Development Use OpenAI API to make two GPT bots talk to each other Use OpenAI API to make two GPT bots talk to each other